Snowflake Template: Fold Guide and Six-Point Cut Patterns
Free printable snowflake templates: a six-point folding guide, four cut patterns, four large snowflake shapes and nine small ones for garlands and windows.
The pages we drew for this article are free. Links to Creative Fabrica and Amazon are affiliate links, which may earn us a commission at no extra cost to you.
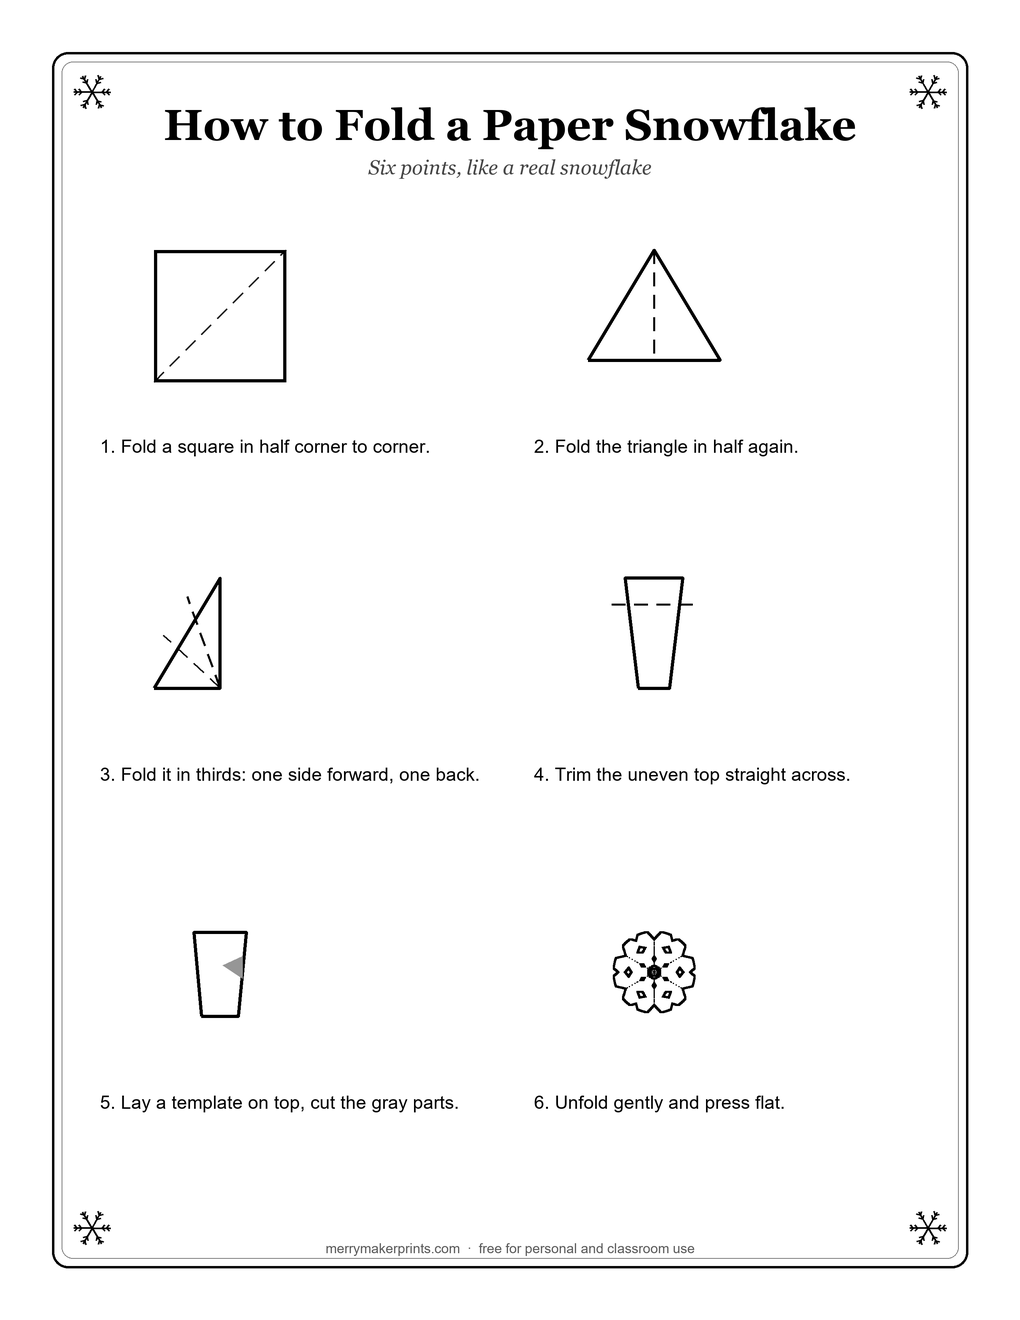
A snowflake template is a printed pattern that shows you where to cut a piece of folded paper so it opens into a snowflake. This free set has a step-by-step folding guide, four cut templates (Classic star, Arrow points, Dots and notches, Lace flake), a page of four large snowflake shapes you can cut out without folding, and a page of nine small snowflakes for garlands and windows. Every snowflake in the set has six points, like a real one. The patterns are plain black lines on Letter-size paper, and you may print them for a kitchen table or a classroom of thirty.
Choose a single pattern, or take all seven pages in one download.
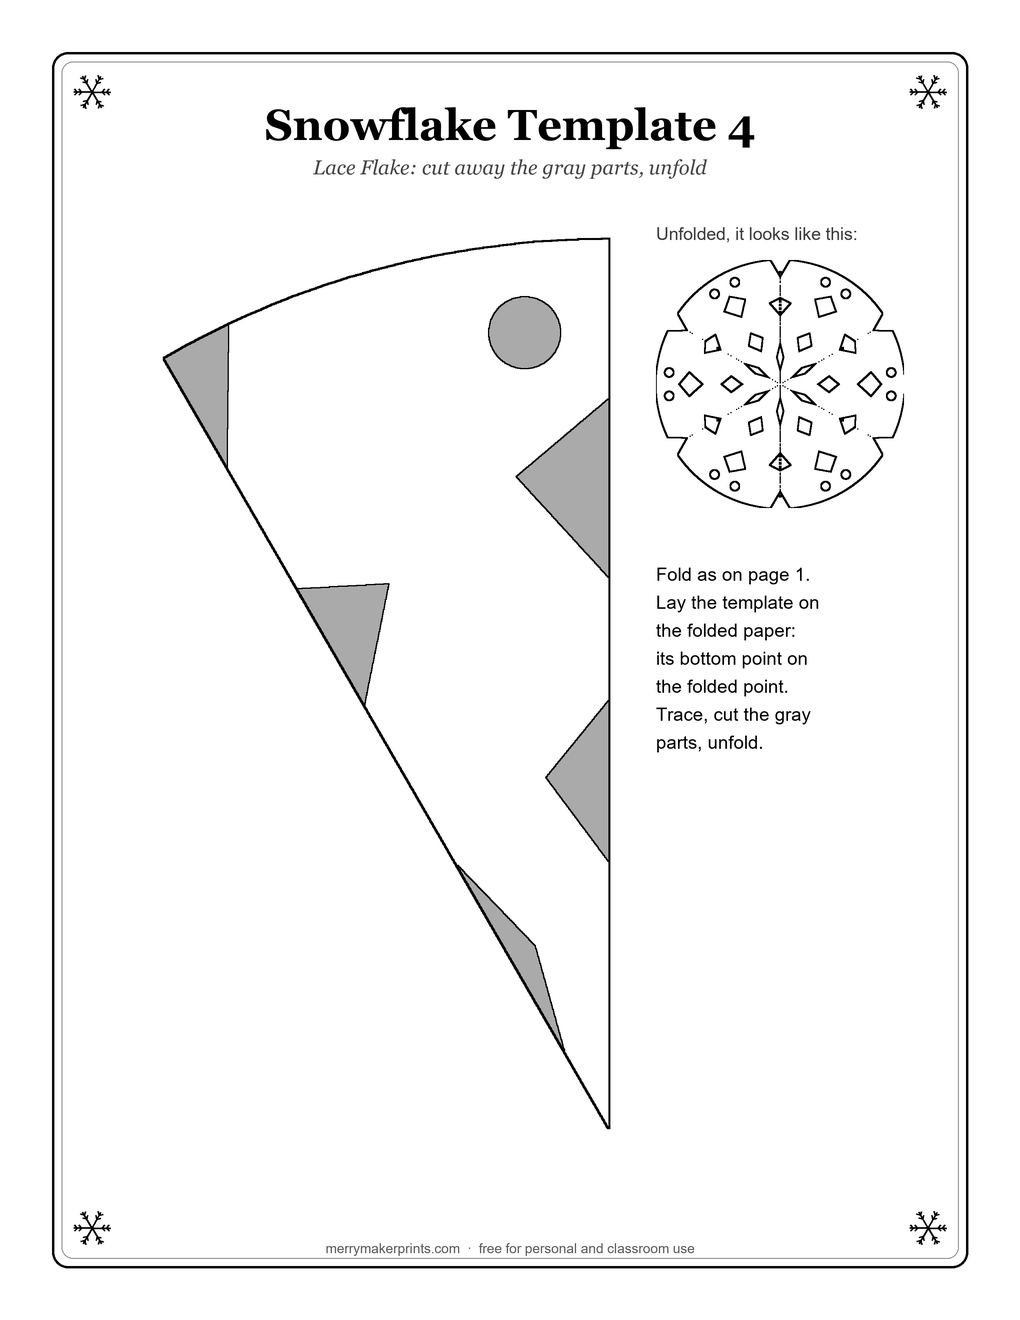
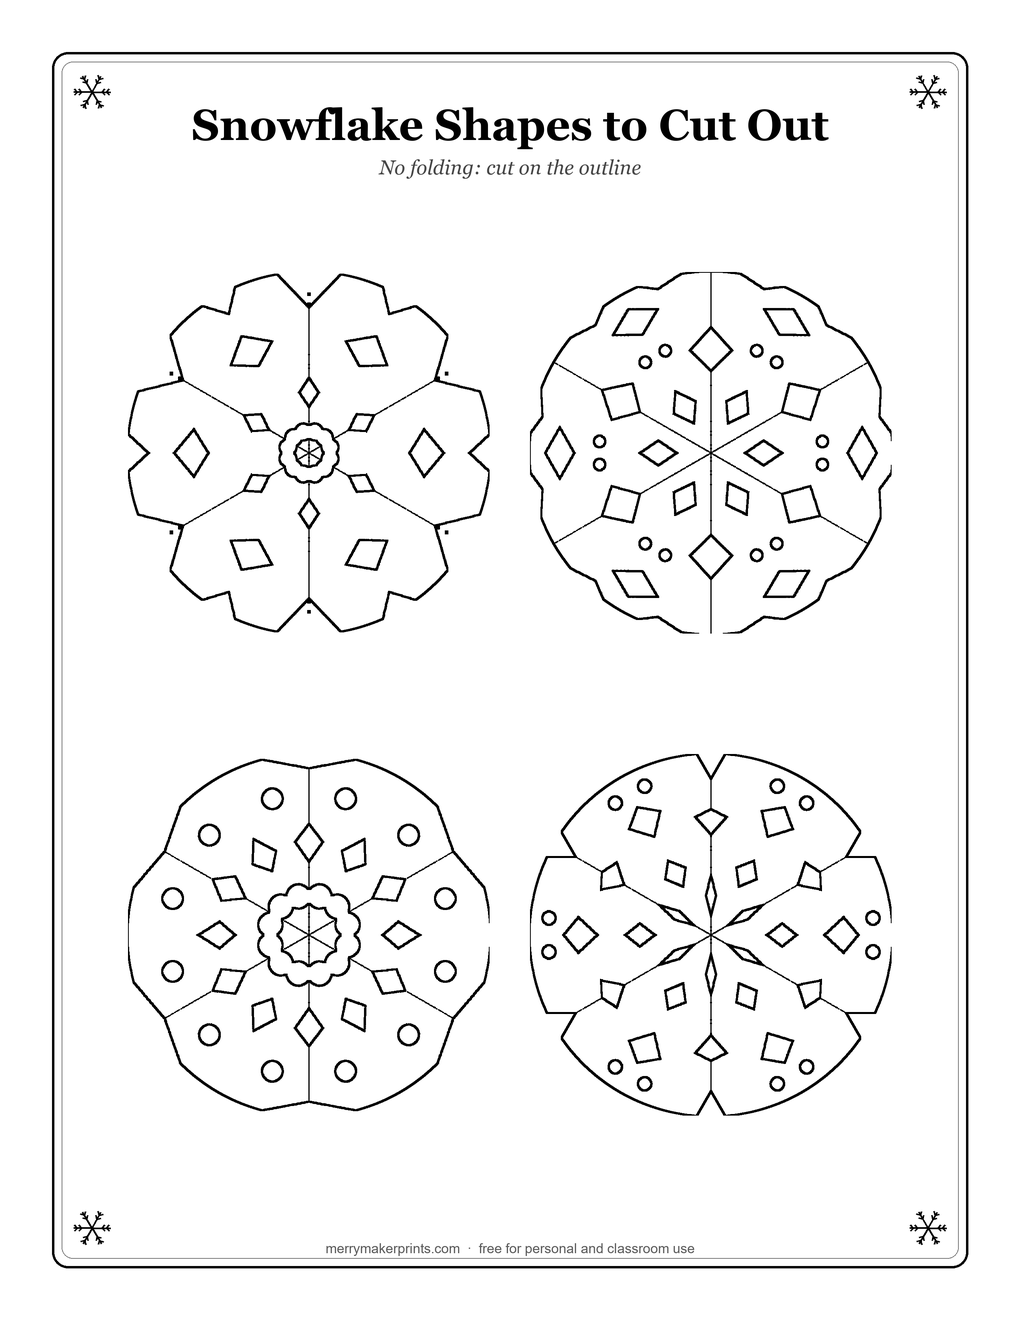
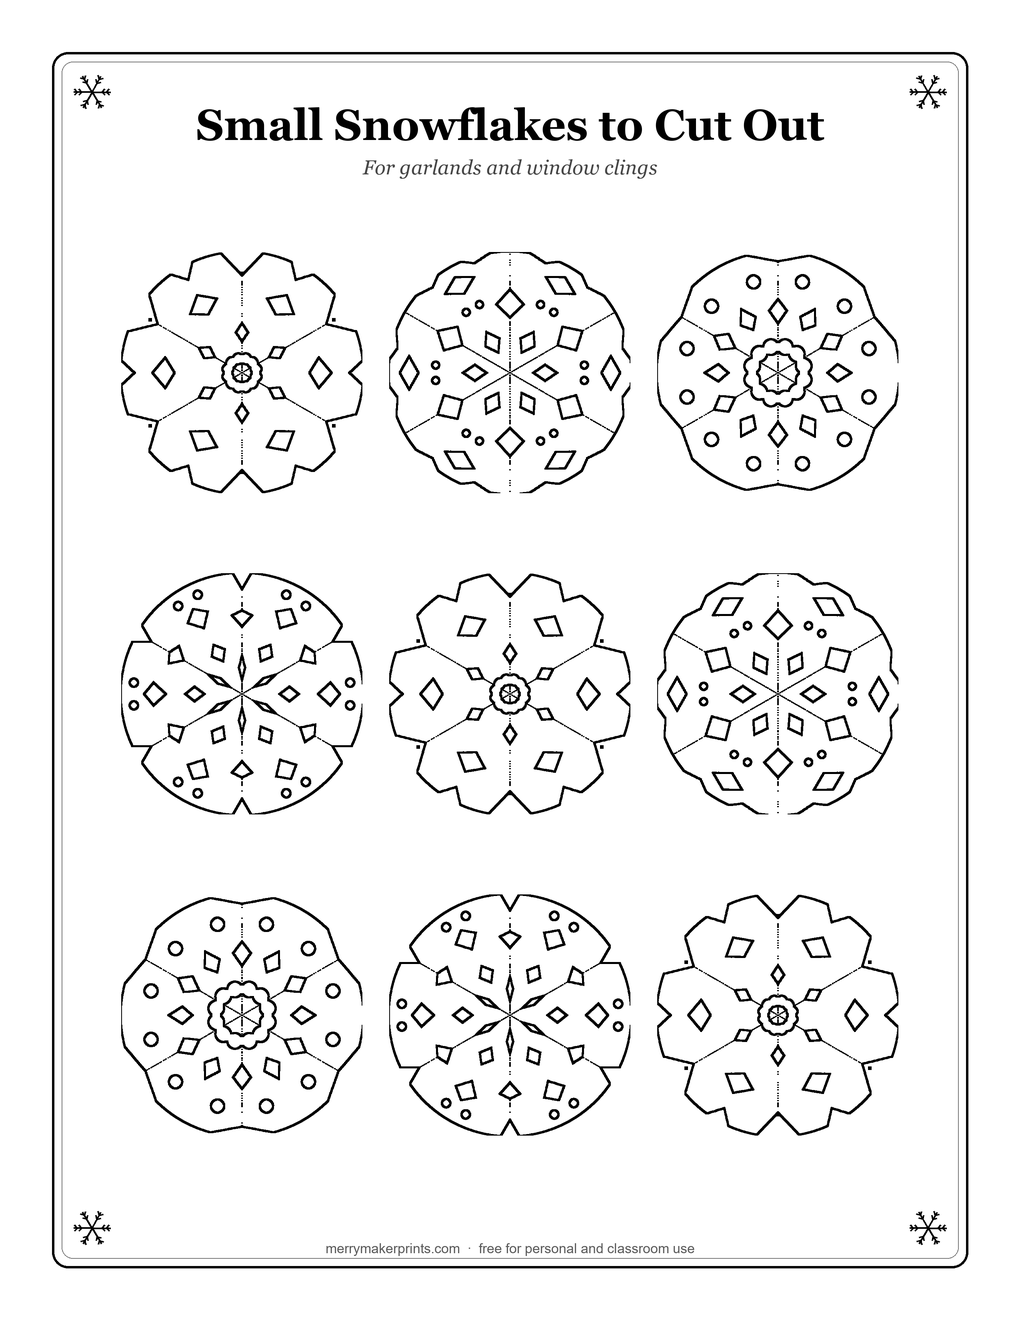
The Seven Pages in Order
| Page | What it is | Folding? |
|---|---|---|
| How to Fold | Six illustrated steps | Yes |
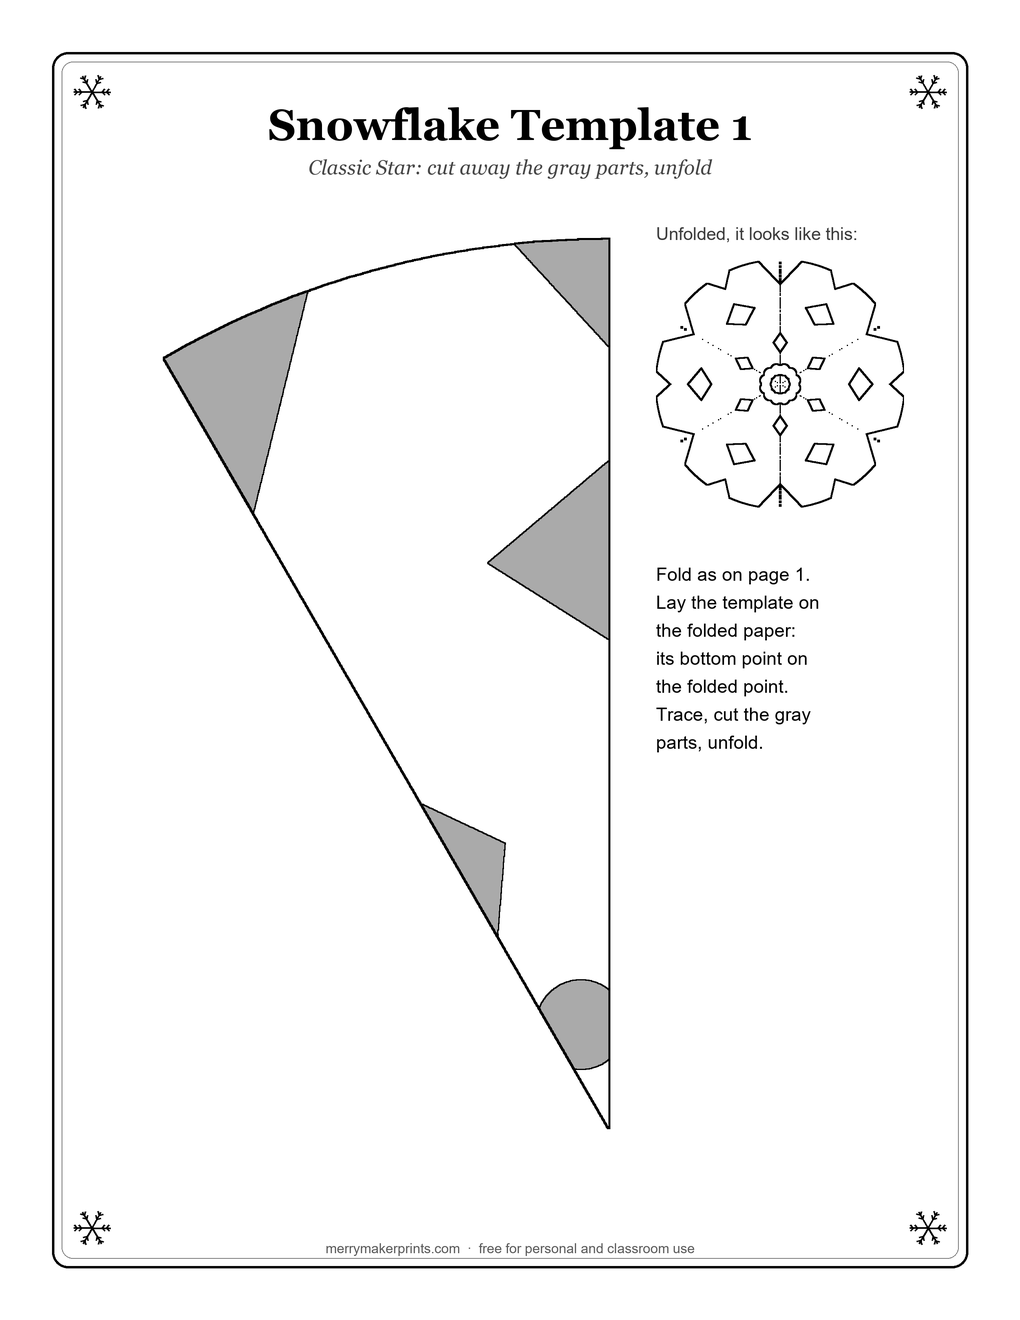
| Cut Template 1: Classic star | Folded wedge with gray parts to cut, plus a preview | Yes |
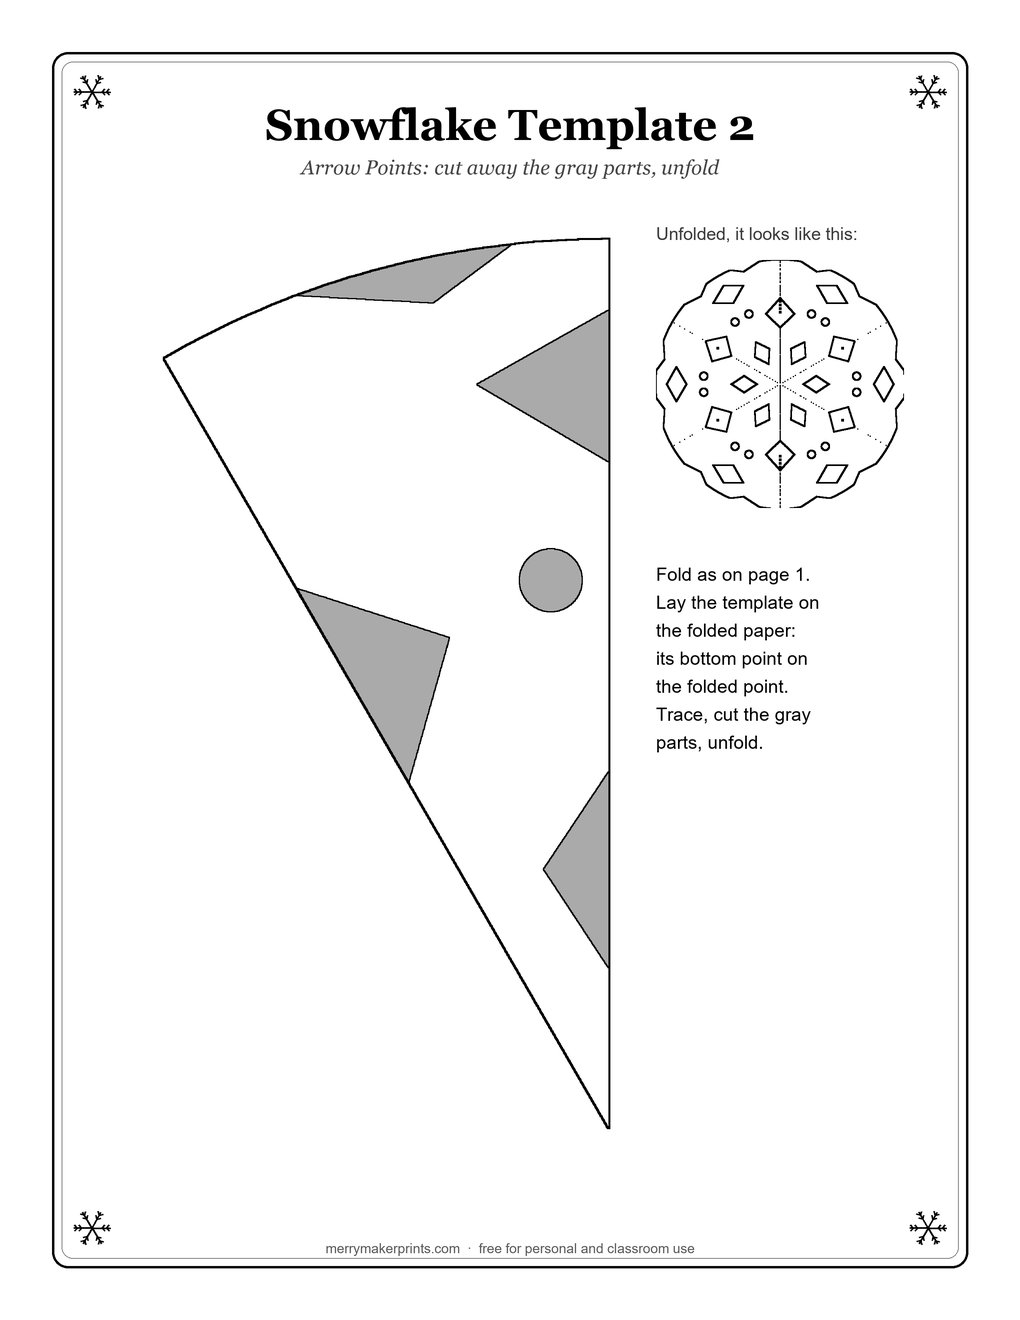
| Cut Template 2: Arrow points | Same layout, pointed tips | Yes |
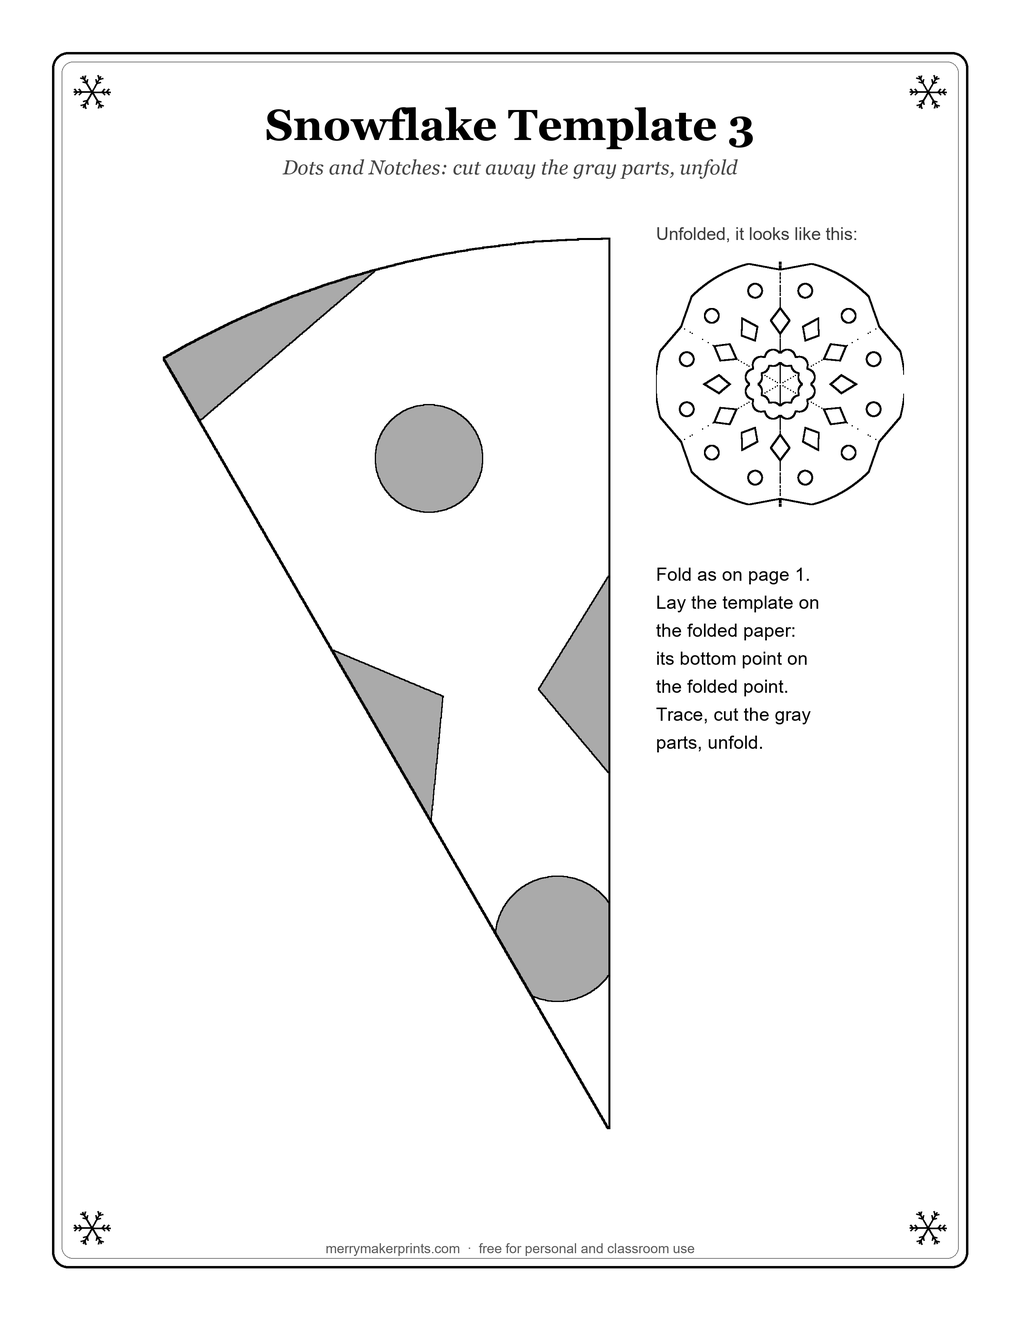
| Cut Template 3: Dots and notches | Same layout, small holes and notches | Yes |
| Cut Template 4: Lace flake | Same layout, the most cuts | Yes |
| Snowflake Shapes | Four outlines, about 3 inches (7.5 cm) across | No |
| Small Snowflakes | Nine outlines, about 2 inches (5 cm) across | No |
The four cut templates show the folded wedge large: about 7½ inches (19 cm) from the bottom point to the top edge, a size that matches a square about 15 inches across. The gray areas are the parts you cut away, and a small drawing beside the wedge shows what the snowflake looks like unfolded, so you can choose before you start.
Why Six Points
Snow crystals have six-fold symmetry. Water freezes into ice with a hexagonal crystal lattice, and, as the Caltech physicist Kenneth Libbrecht explains on his snow crystal site, that arrangement of water molecules is why a snowflake grows six arms. The classic four- or eight-point paper snowflake that many of us made in school is pretty, but it is not what falls from the sky.
Six points come from the way you fold. A square folded in half corner to corner and then in half again gives a corner of 90 degrees at the center. Folded in thirds, that corner becomes 30 degrees. Twelve layers of 30 degrees make a full circle, and because every other layer is a mirror image, the cut pattern repeats six times. The result is a six-point snowflake.
How to Fold and Cut
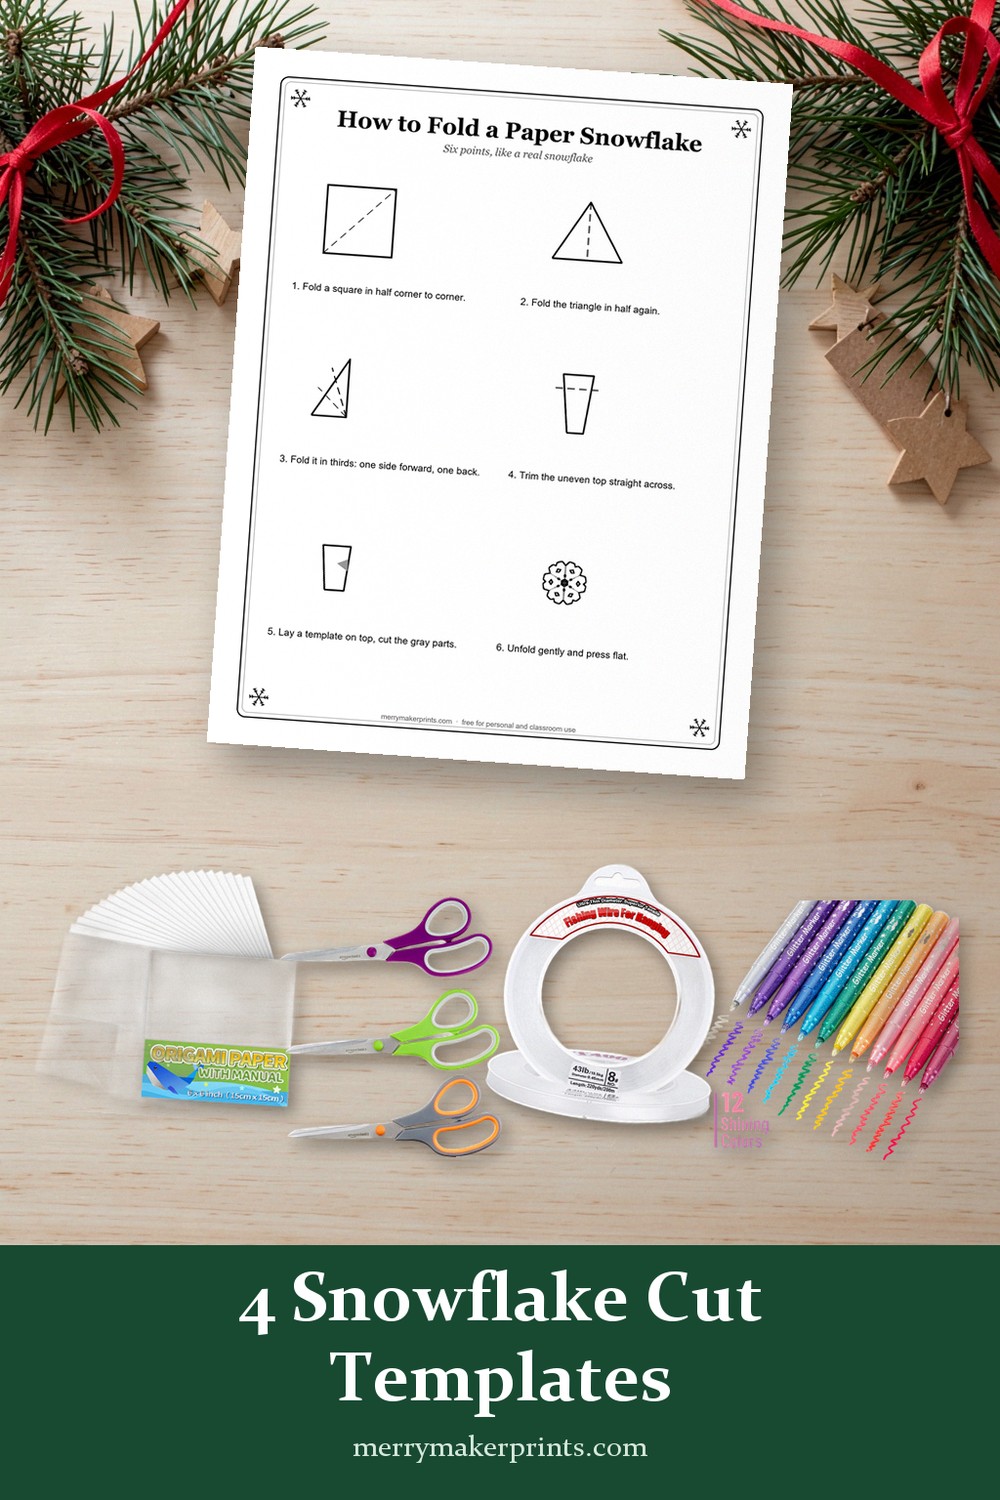
The first page shows each step with a drawing. In words:
- Fold a square corner to corner to make a triangle.
- Fold the triangle in half to make a smaller triangle. The center of the square is now the point at the bottom.
- Fold in thirds. Bring one side forward and the other side back, so the edges line up. This is the fold that takes practice: adjust it until the two outer edges meet and nothing sticks out.
- Trim the uneven top straight across with scissors.
- Lay a template on top, with the bottom point of the template on the folded point of the paper. Trace the gray parts, then cut them away.
- Unfold gently and press flat under a heavy book for an hour or so.
Never cut across the whole width of the wedge. If a cut runs all the way from one folded edge to the other, the snowflake falls apart when you open it.
Your folded paper will almost always be smaller than the template. A square cut from a letter sheet, 8½ inches on a side, folds to a wedge about 4¼ inches long, so print the template at about 55% to match it; for a 6-inch origami square, print at about 40%. Most printers have a scale or "custom size" option in the print dialog. You can also line up the points and trace only the part that fits.
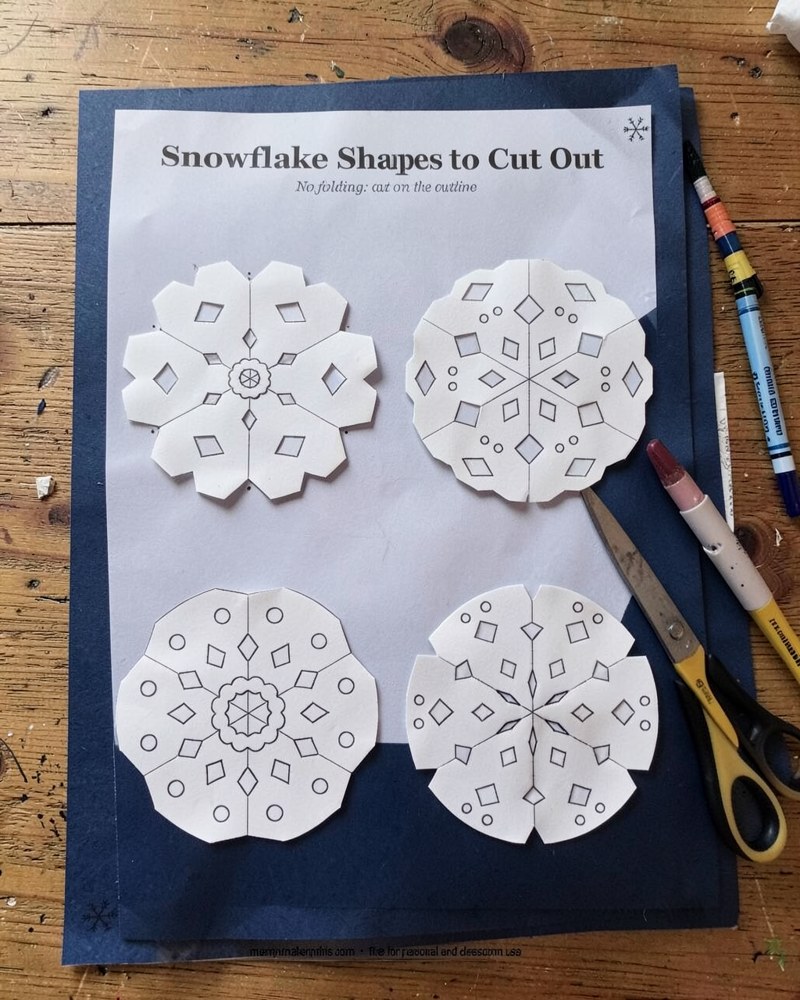
Both pictures are drawings made from our patterns to show how the flakes can look once cut; they are not photographs of anyone's work.
Choosing Paper
Twelve layers of paper are thick, so the thinner the paper, the easier the cuts.
- Printer paper works well. Cut a square from a letter sheet by folding one corner down to the opposite edge and trimming the strip.
- Origami paper is already square and thin, and comes in colors. It folds crisply and gives cleaner small cuts.
- Cardstock is too stiff for folding into twelve layers. Save it for the two outline pages, where there is no folding at all: the shapes are sturdier and hang flat.
- Colored paper. White snowflakes look best against a dark window or wall. Print the outline pages in black on blue, silver or white paper and cut on the line.
Print the templates themselves on plain paper. You trace from them, so they do not need to be strong.
Cutting Tips
- Start with the Classic star. It has the fewest cuts. The Lace flake has the most and is best left for the second or third snowflake.
- Cut the inside shapes first, then the outer edge. A wedge is easier to hold while it still has its full shape.
- Use small sharp scissors for the notches and dots. Long blades struggle with twelve layers.
- Pinch the folds with your free hand so the layers do not slide while you cut.
- Mix and match. Once you have cut one template, try the arrow points of one with the dots of another.
With young children, an adult can fold and trace and the child can cut the bigger gray shapes. Blunt-tip scissors cut printer paper fine, though not twelve layers of it, so children often do better with the no-fold outline pages.
Hanging, Garlands and Windows
- Hanging. Punch or pierce a small hole near the tip of one point and tie a length of clear line through it. Clear line almost disappears, so snowflakes seem to float. Tape the other end to the ceiling or a curtain rod, with each one at a different height.
- Garland. The small snowflake page has nine outlines, enough for a short garland. Cut them out and tape them along a length of string or clear line about 4 inches (10 cm) apart; nine of them cover a little over 4 feet (about 1.3 m). Print the page twice for a mantel or doorway.
- Windows. Tape small snowflakes to the glass with a little loop of tape on the back or with removable poster putty, which usually comes off glass cleanly.
- Gift wrap. Glue a small snowflake to the top of a plain wrapped box as a tag.
Tools Worth Having
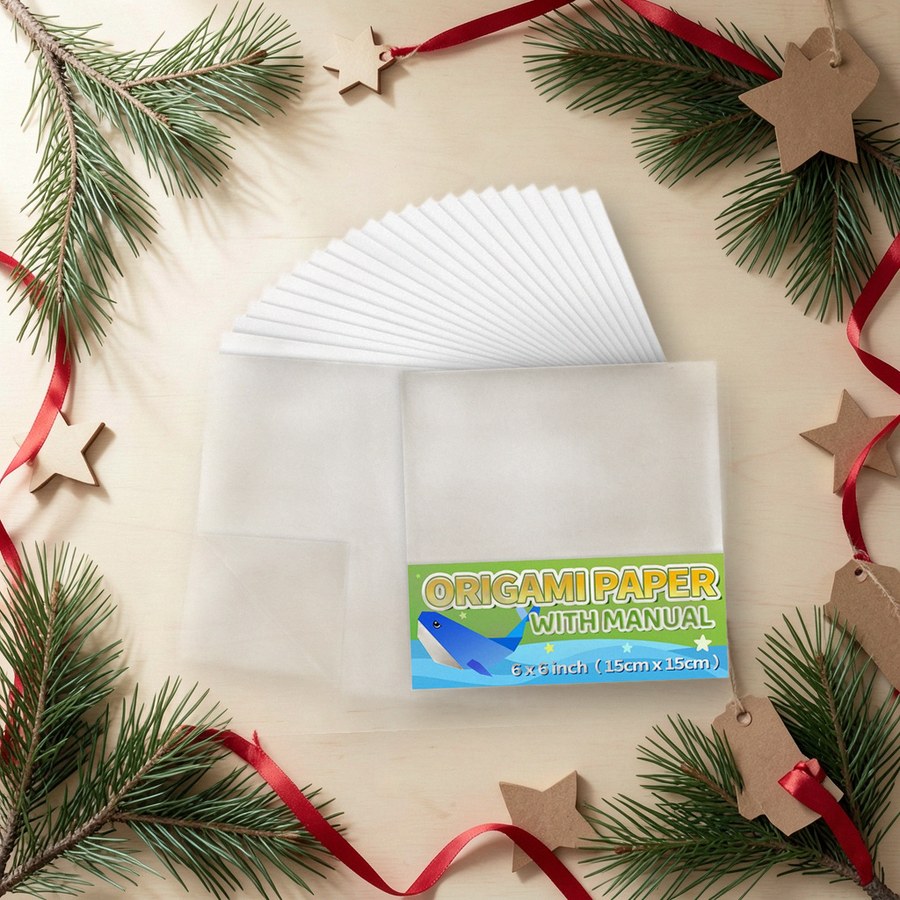 White origami paper, 6 x 6 inchPraisebankOn Amazon ↗
 Multipurpose scissorsAmazon BasicsOn Amazon ↗
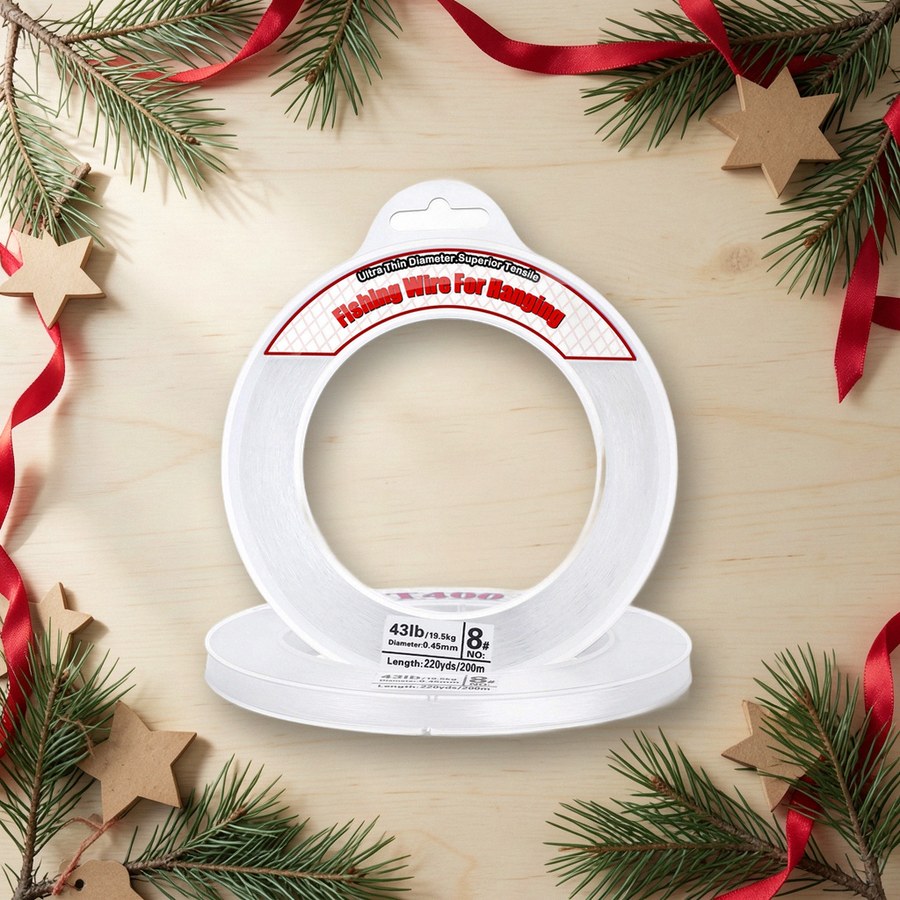 Clear line for hangingAcejozOn Amazon ↗
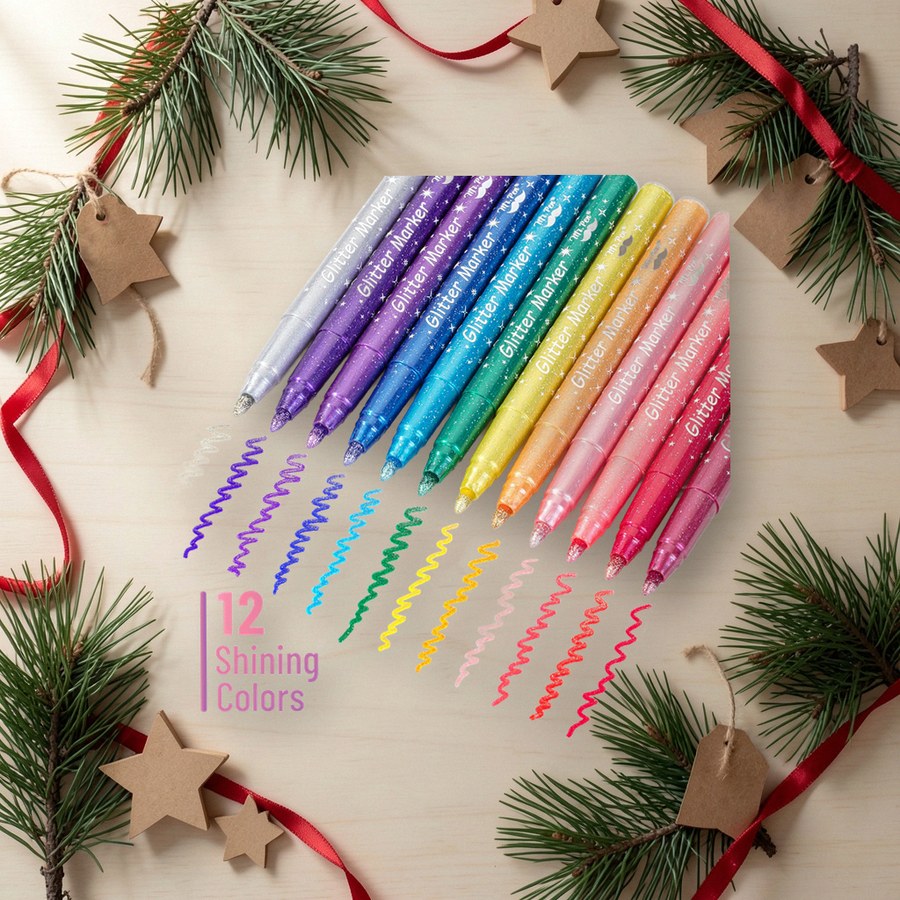 Glitter marker pensMr. PenOn Amazon ↗
As an Amazon Associate we earn from qualifying purchases.
Thin origami paper folds into twelve layers without bulging, and a 6-inch square opens into a snowflake about 6 inches (15 cm) across, a little less after trimming. Glitter markers are for the outline pages: color the shapes before you cut them out.
More Winter Paper Crafts
For three-dimensional snowflakes, see our winter and snowflake designs collection: files sold by independent designers, among them lanterns and layered designs for cutting machines.
 Snowflake LanternsPrintable template · free in your first 10 downloads
 Snowflake Layered DesignPrintable template · free in your first 10 downloads
 Snowflake 3D Papercut Shadowbox TemplateSVG cut file · free in your first 10 downloads
More like these in Winter & Snowflake Designs. The first ten downloads on a new Creative Fabrica account are free.
A snowflake garland suits a quiet winter afternoon. For a lively one, try our Christmas charades cards or the Christmas word search. Planning a gift exchange too? The Secret Santa questionnaire has forms for the office, a classroom and the family.
Collections That Go With This Page
- Winter & Snowflake Designs (17 files)
- Christmas Crafts for Kids (12 files)